Easy Video Splitter Tools With Drag-and-Drop Editing
8 min read
Video editing no longer has to be a technical barrier for teams, creators, educators, marketers, or small businesses. One of the most common editing needs is also one of the simplest: splitting a video into shorter, cleaner, more useful segments. Easy video splitter tools with drag-and-drop editing make this process faster by allowing users to import footage, move clips visually on a timeline, and cut sections without advanced editing experience.
TLDR: Easy video splitter tools help users cut long videos into shorter clips quickly, often by dragging files onto a timeline and selecting split points visually. The best tools combine simplicity with reliable export quality, format support, and basic editing controls. For most users, a clean interface, fast processing, and non-destructive editing matter more than complex professional features. Choose a tool based on your workflow, privacy needs, output formats, and whether you edit online, on desktop, or on mobile.
Why Video Splitting Matters
Video splitting is used in many practical situations. A one-hour webinar may need to be divided into topic-based lessons. A recorded interview might contain long pauses or off-topic sections that should be removed. A marketing team may want to turn a product demo into several short clips for social media. Even personal users often split family videos, travel footage, or event recordings into smaller, easier-to-share files.
The value of a good splitter is not only speed. It also helps preserve the structure and quality of the footage. With a dependable tool, users can remove mistakes, isolate highlights, create teasers, and prepare videos for multiple platforms without rebuilding the project from scratch. Drag-and-drop editing makes this process especially accessible because it matches the way people naturally organize visual content: place, adjust, preview, and export.
What Drag-and-Drop Editing Means in Practice
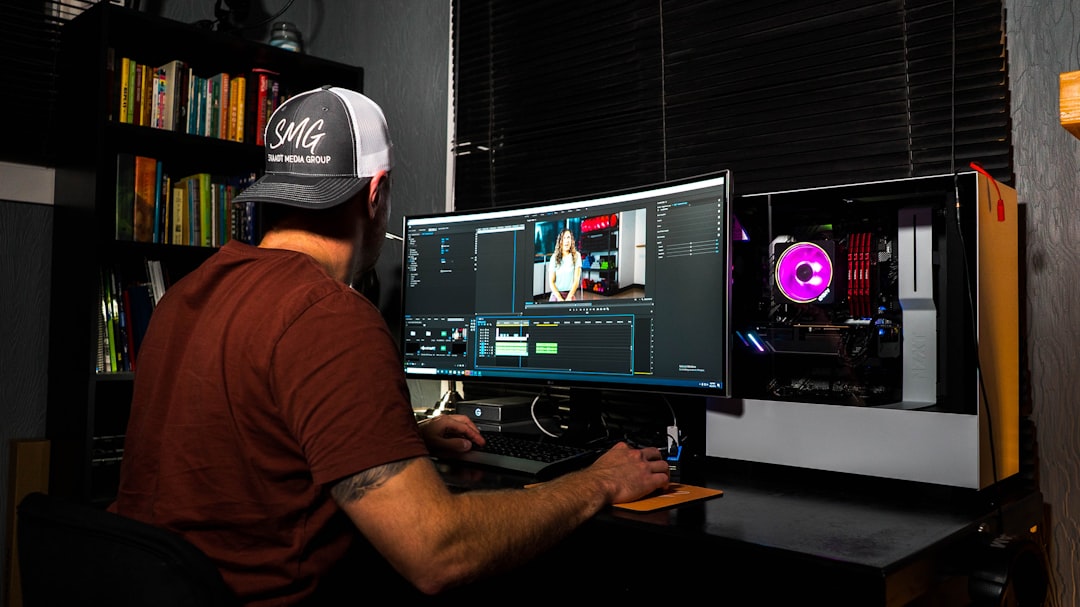
Drag-and-drop editing allows users to move files, clips, and transitions around a workspace with the mouse or touchpad. Instead of opening complex menus for every action, users can drag a video onto the timeline, position the playhead, and click a split button. Some tools also allow users to drag the edges of a clip to trim the beginning or end, rearrange segments, or delete unwanted portions.
This approach is particularly helpful for beginners, but it is not limited to casual users. Many professionals prefer drag-and-drop controls for rough cuts, social clips, and fast internal projects. When a tool is designed well, the interface reduces friction while still giving the editor enough control to make accurate decisions.
Core Features to Look For
Not every video splitter is equal. Some are simple trimming utilities, while others are lightweight editors with splitting, cropping, captions, audio controls, and export presets. Before choosing a tool, consider the features that will affect your everyday work.
- Clear timeline controls: The timeline should make it easy to locate exact split points, zoom in, and preview changes before exporting.
- Frame-accurate splitting: For tutorials, interviews, and professional content, precise cutting is important. A small timing error can make speech or movement look awkward.
- Fast import and export: A simple cut should not require excessive processing time, especially when handling large files.
- Multiple format support: Good tools commonly support MP4, MOV, AVI, MKV, WebM, and other widely used formats.
- Quality preservation: The tool should avoid unnecessary compression and provide export settings for resolution, bitrate, and file size.
- Undo and non-destructive editing: A safer workflow lets you experiment without permanently damaging the source file.
- Batch processing: If you often split many videos, batch tools can save significant time.
- Platform presets: Export presets for YouTube, Instagram, TikTok, LinkedIn, and presentation formats can simplify delivery.
Online vs Desktop Video Splitters
One major decision is whether to use an online tool or a desktop application. Both can be effective, but they serve different needs.
Online video splitters are convenient because they usually work directly in the browser. There is no installation, and many have simple interfaces made for quick tasks. They are useful when working on a shared computer, making a quick cut, or editing lightweight files. However, they may require uploading your footage to a remote server, which can be a concern for confidential meetings, client projects, unreleased marketing material, or private recordings.
Desktop video splitters are generally better for large files, sensitive content, and repeated editing work. Since files are processed locally, they may offer better speed, control, and privacy. Desktop tools also tend to support more export options and higher-resolution footage. The tradeoff is that they require installation and may use more system resources.
For many users, the best choice is practical rather than ideological. If you only need occasional quick edits, an online splitter may be enough. If you regularly edit long recordings or handle private footage, a desktop option is often more appropriate.
Mobile Video Splitter Tools
Mobile video splitter apps are useful for creators who record and publish directly from a phone. They typically include touch-based drag-and-drop timelines, quick trimming handles, caption tools, music libraries, and platform-specific export sizes. These tools are especially effective for short-form content, event recaps, product clips, and informal tutorials.
However, mobile editing can become limiting when working with long videos, multiple camera angles, or professional audio. Storage capacity, screen size, and processing power may restrict the workflow. Mobile splitters are best when speed and convenience are more important than deep control.

How to Split a Video Using a Drag-and-Drop Tool
Although each application is different, the general process is similar across most modern video splitter tools. A reliable workflow helps reduce mistakes and shortens editing time.
- Import the video: Drag the file into the workspace or upload area. Confirm that the video loads properly and that audio is synchronized.
- Move the video to the timeline: In most tools, you drag the imported file to the timeline where editing takes place.
- Locate the split point: Use the playhead, preview window, and zoom controls to find the exact moment where you want to cut.
- Apply the split: Click the split, cut, or scissors icon. The video should become two separate segments on the timeline.
- Remove or rearrange segments: Delete unwanted parts, drag clips into a new order, or isolate the section you need.
- Preview the edit: Play through the area around each cut to ensure the pacing feels natural and the audio remains clean.
- Export the final file: Select the format, resolution, quality, and destination folder before saving.
This method is simple, but accuracy still matters. If the cut happens during a word, gesture, or camera movement, the final video may feel abrupt. It is often worth moving a few frames earlier or later to make the transition more natural.
Important Quality and Export Considerations
A serious video workflow should pay attention to export settings. Many users focus only on making the cut, but the export stage determines how the final file looks and performs. Poor settings can create blurry footage, distorted audio, oversized files, or compatibility problems.
For general use, MP4 with H.264 remains one of the safest choices because it is widely supported across websites, devices, and presentation platforms. For higher efficiency, some tools support H.265, though compatibility can vary depending on the destination. If the video is meant for professional post-production, preserving a high-quality format may be more important than reaching a smaller file size.
Resolution should match the source unless you have a specific reason to change it. Exporting a 1080p source at 4K will not add true detail, while exporting it at a much lower resolution may reduce clarity. Similarly, audio settings should not be ignored. Clear speech is often more important than perfect visuals, especially for training content, interviews, and business communication.
Privacy and Security Concerns
Trustworthy video editing is not only about convenience. It is also about how files are handled. If your video contains confidential information, personal data, client material, medical content, legal discussions, student recordings, or internal business strategy, you should consider privacy before uploading it to any web-based service.
Look for clear policies about file storage, deletion, encryption, and user rights. A serious provider should explain how long uploaded videos remain on its servers and whether files are used for any secondary purpose. If that information is unclear, use caution. For sensitive work, local desktop software is generally the safer option because the video does not need to leave your device.
Who Benefits Most From Easy Video Splitters?
Easy video splitter tools are useful across many fields. Their strength is not that they replace full professional editing suites, but that they solve a common problem quickly and reliably.
- Educators can divide lectures into smaller lessons that are easier for students to review.
- Content creators can turn long recordings into short clips for multiple platforms.
- Businesses can split meetings, demos, testimonials, and training videos into targeted segments.
- Researchers and journalists can isolate relevant interview sections for analysis and reference.
- Event organizers can cut conference recordings into speaker sessions or highlight reels.
- Families and personal users can organize large video files into meaningful moments.

Common Mistakes to Avoid
Even simple tools can produce poor results if used carelessly. One common mistake is cutting too tightly. A small pause before or after a statement can make the edit feel more natural. Another mistake is exporting repeatedly from already compressed files. Each export may reduce quality unless the settings are carefully managed.
Users should also avoid ignoring aspect ratios. A horizontal 16:9 clip may not work well in a vertical short-form format without reframing. Likewise, subtitles or on-screen graphics can be accidentally cut off if the video is resized incorrectly. Before publishing, always preview the final file on the type of device or platform where it will be viewed.
Choosing the Right Tool for Your Workflow
The best video splitter is the one that fits your actual editing habits. If you value speed above all else, choose a tool with a minimal interface and fast exports. If you publish to several platforms, select one with export presets and aspect ratio controls. If you work with large files, prioritize desktop performance and hardware acceleration. If you handle sensitive content, privacy and local processing should come first.
It is also wise to test a tool with a sample file before committing to it. Check whether the audio stays in sync, whether the split points are accurate, and whether the exported file meets your quality expectations. A tool may look simple and modern but still produce weak results if its encoding engine or timeline controls are unreliable.
Final Thoughts
Easy video splitter tools with drag-and-drop editing offer a practical balance of simplicity, speed, and control. They allow users to clean up recordings, create shorter clips, repurpose content, and prepare videos for different audiences without learning a complex editing suite. The best tools make splitting feel intuitive while still respecting quality, privacy, and export standards.
For casual projects, a browser-based or mobile splitter may be sufficient. For regular business, educational, or professional use, a dependable desktop tool is often worth the investment. In all cases, focus on accuracy, file security, and final output quality. A simple editing tool can still produce polished results when it is chosen carefully and used with a disciplined workflow.