Acer Monitor Not Detecting Input? Here’s How to Fix It
5 min read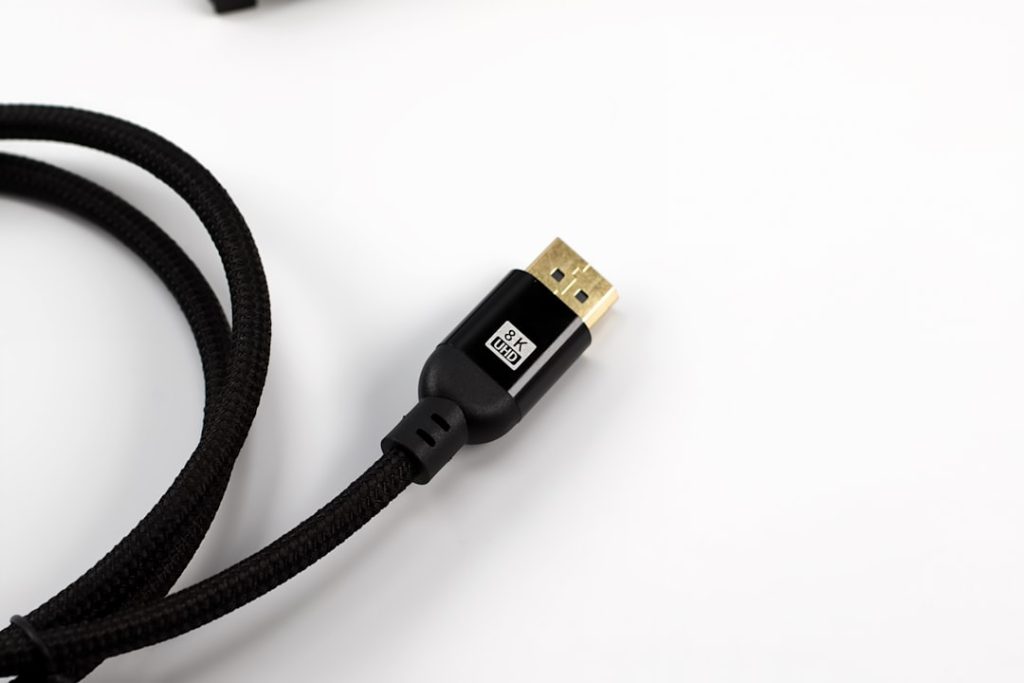
An Acer monitor that suddenly displays a “No Signal” or “Input Not Supported” message can be frustrating—especially when your computer seems to be running perfectly. Whether you’re trying to work, game, or stream content, a monitor that refuses to detect input can bring everything to a halt. The good news? In most cases, this issue is caused by simple connectivity problems, incorrect settings, or minor hardware glitches that you can fix yourself without professional repair.
TL;DR: If your Acer monitor isn’t detecting input, start by checking cables, power connections, and the selected input source. Restart both your monitor and computer, test a different cable or port, and update your graphics drivers. If the problem continues, reset the monitor to factory settings or test it with another device to pinpoint whether the issue is with the monitor or your PC.
Why Is Your Acer Monitor Not Detecting Input?
When your Acer monitor fails to detect input, it typically means the display isn’t receiving a valid signal from your device. This can happen for several reasons, including:
- Loose or faulty cables
- Incorrect input source selected
- Outdated or corrupted graphics drivers
- Power supply issues
- Faulty GPU or monitor hardware
Understanding the common causes makes troubleshooting quicker and more effective.
1. Check All Cable Connections First
The simplest solution is often the correct one. A loose HDMI, DisplayPort, VGA, or DVI cable can prevent your monitor from detecting input.
What to do:
- Turn off both the monitor and your computer.
- Unplug the video cable from both ends.
- Inspect the cable for visible damage.
- Plug it back in firmly.
- Turn everything back on.
If possible, try a different cable. Even if a cable looks fine externally, internal damage can prevent proper signal transmission.
Tip: Avoid using excessively long or low-quality cables, especially for high-resolution displays. Poor cables often fail to transmit stable signals at higher refresh rates.
2. Make Sure the Correct Input Source Is Selected
Modern Acer monitors often come with multiple input ports such as HDMI 1, HDMI 2, DisplayPort, and VGA. If the wrong source is selected, your monitor won’t detect the active signal.
How to fix this:
- Press the Menu button on your monitor.
- Navigate to Input Source.
- Manually select the port you’re using.
Some monitors auto-detect input, but this feature can fail occasionally. Manually selecting the correct input often solves the issue immediately.
3. Restart Your Devices (Yes, It Works)
It might sound basic, but a complete restart can reset signal communication between your computer and monitor.
Follow these steps:
- Turn off your computer completely.
- Power off the monitor.
- Unplug both devices from the wall.
- Wait 2–3 minutes.
- Reconnect everything and power them back on.
This process clears temporary glitches in both the monitor firmware and your system’s graphics output.
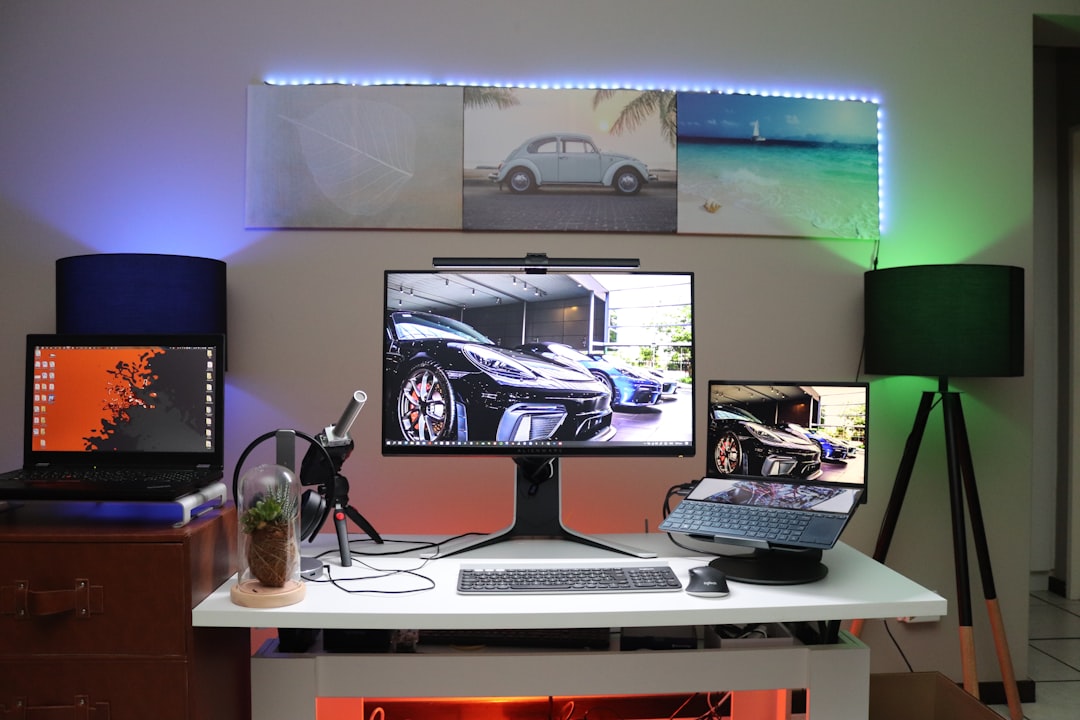
4. Test With Another Device
If you’re unsure whether the issue is with your monitor or your PC, test the monitor with another device like:
- A laptop
- A gaming console
- A streaming device
If the monitor works with another device, the problem likely lies with your computer’s graphics card or settings.

5. Check Your Graphics Card and Drivers
A faulty or outdated graphics driver can prevent your PC from sending a proper signal to your Acer monitor.
Update Your Graphics Driver
- On Windows, open Device Manager.
- Expand Display Adapters.
- Right-click your graphics card and choose Update Driver.
You can also visit the manufacturer’s website (NVIDIA, AMD, or Intel) for the latest driver version.
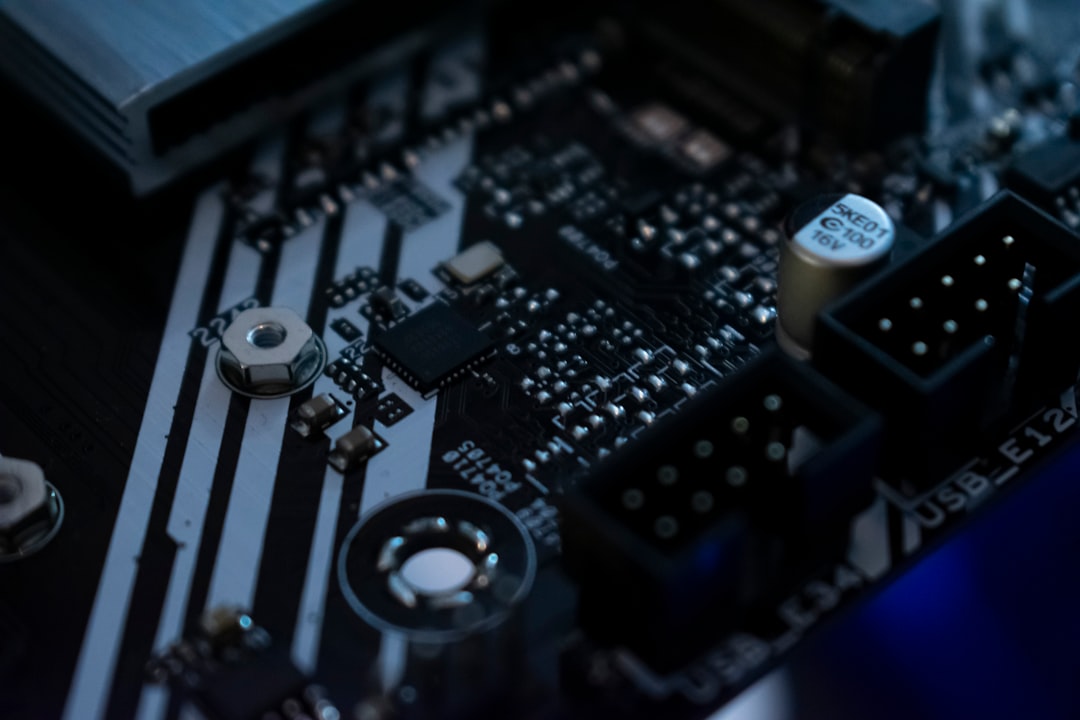
Reseat Your Graphics Card (Desktop Only)
If you’re using a desktop PC:
- Turn off and unplug your computer.
- Open the case.
- Remove the GPU carefully.
- Reinsert it firmly into the PCIe slot.
Sometimes slight movement inside the case can disrupt proper GPU connection.
6. Adjust Display Resolution
If you see an “Input Not Supported” message, your computer may be sending a resolution or refresh rate your monitor can’t handle.
Boot your system into Safe Mode and lower the resolution to a standard setting like:
- 1920×1080 at 60Hz
- 1280×720 at 60Hz
Once stable, you can gradually increase the resolution to match your monitor’s native capabilities.
7. Reset the Monitor to Factory Settings
Your Acer monitor may have corrupted internal settings.
To reset:
- Open the monitor’s on-screen menu.
- Select System or Settings.
- Choose Reset to Factory Defaults.
This restores the monitor to its original configuration and often clears signal detection problems.
8. Inspect Power Supply Issues
A monitor that powers on but doesn’t detect input may not be receiving stable power.
Check for:
- A blinking power light
- Flickering screen before signal loss
- Unusual buzzing sounds
Try using a different power outlet or power cable if possible.
9. Compare Connection Types
Different cables offer different reliability levels. If you’re troubleshooting input detection issues, this comparison may help:
| Connection Type | Signal Quality | Common Issues | Best Use Case |
|---|---|---|---|
| HDMI | Excellent | Loose ports, handshake issues | Gaming, streaming, general use |
| DisplayPort | Superior | Latch damage, compatibility quirks | High refresh rate gaming |
| VGA | Moderate | Signal degradation, loose pins | Older systems |
| DVI | Good | Bulky connector stability | Legacy digital systems |
If possible, switch to DisplayPort or HDMI for the most reliable performance.
10. Disable Fast Startup (Windows)
Windows Fast Startup can occasionally cause display detection issues after shutdown.
To disable:
- Go to Control Panel > Power Options.
- Select Choose what the power buttons do.
- Click Change settings that are currently unavailable.
- Uncheck Turn on fast startup.
Restart your computer and check if the issue persists.
11. Check for BIOS or Firmware Issues
If your monitor isn’t detecting input during boot—but works once Windows loads—it could be a BIOS configuration issue.
Possible fixes include:
- Resetting BIOS to default settings
- Updating BIOS firmware
- Ensuring the correct primary graphics output is selected
Be cautious when updating BIOS. Follow official instructions carefully.
When to Consider Hardware Failure
If none of the solutions work, you may be dealing with:
- A failing graphics card
- A damaged HDMI or DisplayPort port
- Internal monitor circuit failure
- A burned-out backlight
At this stage, testing components individually becomes critical. Try your computer with another monitor, or connect your Acer monitor to a different system.
Preventing Future Input Detection Problems
Once you’ve resolved the issue, keep it from returning by following these best practices:
- Use high-quality certified cables.
- Avoid frequently unplugging and replugging connections.
- Keep graphics drivers updated.
- Use a surge protector to prevent power damage.
- Maintain adequate airflow around your PC and monitor.
Final Thoughts
An Acer monitor not detecting input may seem like a major problem, but in reality, it’s usually a minor connectivity or configuration issue. By systematically checking cables, input sources, drivers, and hardware components, you can quickly isolate and fix the problem. Most users solve the issue within minutes simply by switching cables or adjusting settings.
Before assuming the worst, work through the troubleshooting steps methodically. In many cases, the fix is simpler than you think—and your display will be back up and running in no time.