How to Upgrade Your SD Card for Switch Homebrew
5 min read
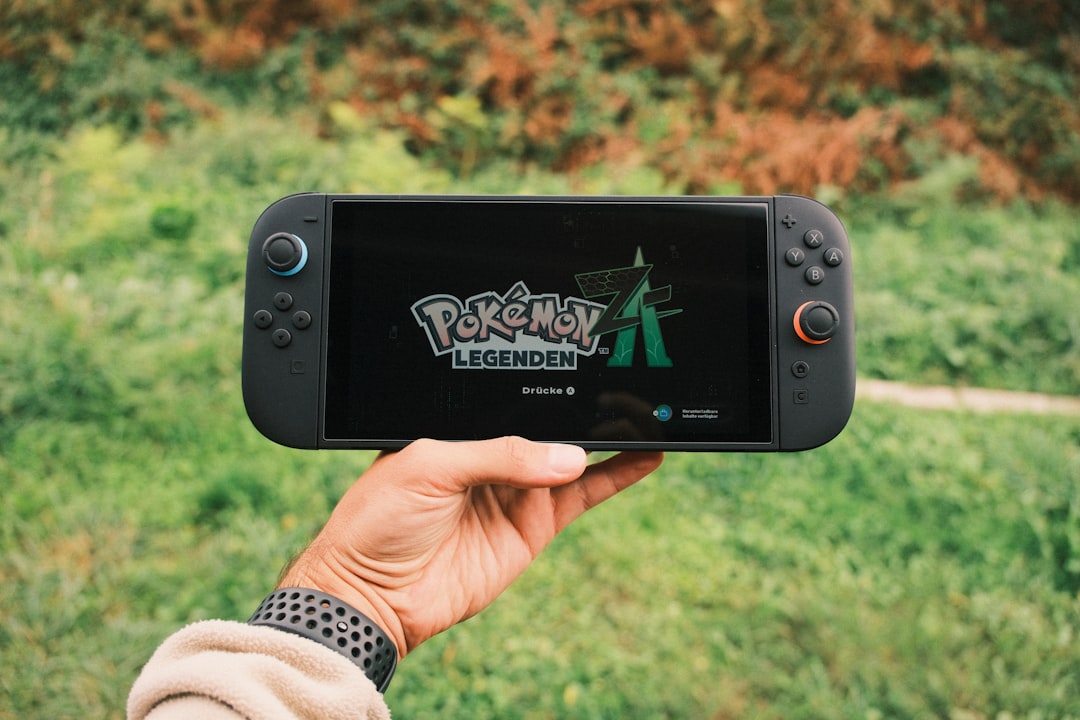
The Nintendo Switch has become a favorite among gamers who love both console and portable play. If you’re into Switch homebrew, upgrading your SD card is one of the most crucial steps you can take for better performance, more storage, and smoother operation. Whether you’re running custom firmware or tinkering with emulators, having the right SD card setup can make all the difference.
TL;DR
If you’re using homebrew on your Nintendo Switch, you’ll eventually need a larger or faster SD card. Upgrading is simple—backup your data, reformat your new card, and move everything over correctly. Pick a high-speed, high-capacity card (ideally UHS-I U3 or better) for the best performance. Follow the guide below to ensure the process goes smoothly without corrupting your homebrew or losing any data.
Why Upgrade Your SD Card?
Your original SD card might work fine when you first start experimenting with homebrew. But as you add more apps, emulators, ROMs, and custom firmware components, you’ll quickly hit storage limitations or experience lag during critical tasks. Here are a few solid reasons to consider upgrading:
- Expanded Storage: Store more homebrew applications, emulators, game backups, and media files.
- Improved Speed: Faster read/write times reduce lag and minimize boot-up delays.
- Stability: A better SD card reduces the chances of data corruption.
- SD Card Wear Protection: Older or lower-tier cards degrade faster and can risk corrupting your valuable data.
What to Look for in a New SD Card
Not all SD cards are created equal—especially for something as I/O intensive as running homebrew. Here’s what you should consider when shopping:
- Capacity: Go for at least 128 GB if you plan to run multiple homebrew apps and emulators. Serious users should aim for 256 GB or higher.
- Speed Class: Look for UHS-I U3 or V30 minimum for consistent performance.
- Type: Only microSD cards work in the Nintendo Switch. Make sure you purchase a genuine card from a reputable manufacturer (like SanDisk or Samsung).
- A1 or A2 Rating: This relates to performance in running apps; A2 is better for multitasking and loading times.
Backing Up Your Old SD Card
Before you switch cards, you’ll need to back up your existing files. This ensures you don’t lose important files related to your homebrew setup.
- Insert Your Old SD Card into Your Computer: Use an SD card reader or a USB adapter if your computer doesn’t have a built-in slot.
- Copy All Contents: Select all files and folders in the root directory and copy them to a folder on your desktop. Make sure you show hidden files, as some homebrew files are not visible by default.
- Double-Check: Compare file sizes and folders to ensure everything has been copied.
Optional tip: This is a great time to declutter stray or unused files from your old SD card. Don’t migrate junk you don’t need!
Formatting the New SD Card
The Nintendo Switch system only reads cards formatted as FAT32 or exFAT. While exFAT supports larger files (over 4 GB), many homebrew developers recommend FAT32 for better compatibility and fewer corruption risks.
How to Format Your Card (FAT32)
- Windows: Use a program like GUIFormat or the built-in Disk Management with CMD. Note that Windows doesn’t support formatting large drives as FAT32 through File Explorer.
- Mac: Use Disk Utility and select “MS-DOS (FAT)” and “Master Boot Record” as the partition map.
- Linux: Use GParted or command-line tools like
mkfs.vfat.
Note: You may be prompted to install exFAT support on your Switch if you haven’t already. Be cautious—doing this officially can update your Switch firmware, so use offline tools if you’re running a homebrew-enabled console.
Transferring Data to the New SD Card
Now that your card is formatted, it’s time to move everything over.
- Copy All Files To the New Card: Move the files you backed up earlier onto the root directory of the new, formatted SD card.
- Safely Eject: Always use the “Eject” function on your PC to prevent data loss or corruption.
- Insert the New Card into the Switch: Power off your system completely before inserting the new SD card.
- Boot into Hekate or Atmosphère: If everything loads as expected, your upgrade was successful!
Troubleshooting Common Issues
Sometimes things don’t go as planned. Here are a few common problems and fixes:
- Switch Won’t Recognize Card: Make sure the card is properly formatted as FAT32 or exFAT. Also check the physical card reader.
- Homebrew Not Launching: Confirm all files were transferred, especially bootloaders like
boot.dator the Atmosphère folder. - Slow Speeds: Make sure you’re using a genuine high-speed card. Use tools like H2testw or FakeFlashTest to check if the card is counterfeit.
Best MicroSD Cards for Switch Homebrew (2024)
- SanDisk Extreme 256 GB (U3, A2): A fan-favorite for speed and durability.
- Samsung EVO Select 512 GB: Offers excellent value for large capacity and rock-solid speed.
- Lexar 633x 128 GB: Budget-friendly while offering decent performance for average users.
Pro Tip: Avoid too-cheap online deals that seem suspicious. Fake SD cards are common and can cause serious data loss when writing large files.
Maintenance Tips for Long-Term Use
A few proactive steps can elongate the life of your SD card and keep your homebrew environment healthy:
- Safely remove and insert the card: Avoid hot-swapping or removing the card while the Switch is powered on.
- Regular backups: Keep an updated backup of your card every few weeks.
- Limit writes: Only write large files when necessary to reduce wear on the card.
- Watch temperatures: Prolonged Switch use can get warm and potentially deteriorate SD performance.
Conclusion
Upgrading your SD card for Switch homebrew isn’t just a luxury—it’s a logical step for anyone diving deeper into custom firmware, emulators, and indie applications. With the right setup, you’ll enjoy better performance, ample storage, and significantly more stability. Just follow the backup-transfer-verify strategy, and your Switch will be running smoother than ever.
So go ahead and give your Switch the upgrade it deserves. Your future homebrew self will thank you!