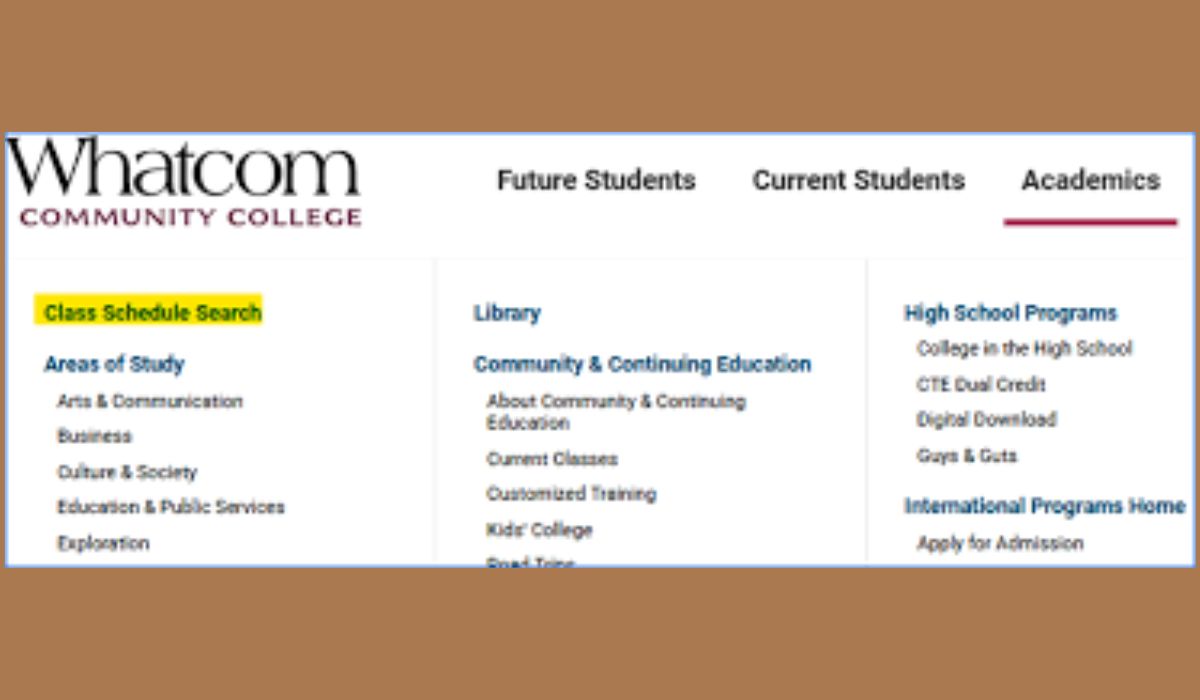
How to Register for Classes at Whatcom College?
5 min read
Registering for classes at Whatcom College is an essential part of your academic journey. Whether you’re a new or returning student, the process of selecting and enrolling in classes may seem complex. However, by following a few key steps, you can efficiently register and ensure that you’re on track to meet your educational goals. This guide will walk you through each step of the registration process and provide helpful tips to make it as smooth as possible.
What You Need Before Registering for Classes

Before diving into the registration process, there are a few things you’ll need to ensure you’re fully prepared. Having these items in place will make the process faster and more efficient.
Student ID and Access
To register for classes, you’ll first need your Student ID. This ID is essential for accessing your account and enrolling in courses. If you don’t already have a student ID, you can obtain it by contacting the college’s admissions office. You’ll also need to know your MyWCC portal login credentials to access the registration system.
Student Portal Access (MyWCC)
Your MyWCC portal is where all registration activities take place. This online portal provides access to your grades, course schedule, and financial information. You will need to log in with your student credentials to begin the registration process.
Required Documents and Prerequisites
Certain classes may have prerequisites, such as previous coursework, test scores, or other requirements. Before registering, check that you meet the necessary criteria for your desired courses. You can find course prerequisites listed in the course catalog or by contacting an academic advisor.
Step-by-Step Guide on How to Register for Classes at Whatcom College
Now that you’re prepared, let’s walk through the registration process step by step.
1. Access the MyWCC Student Portal
Log in to the MyWCC portal using your student ID and password. If you’re unsure of how to log in, visit the Whatcom College website for assistance. You should be able to navigate to the registration section of the portal once logged in.
2. Search for Classes
Once you’re in the portal, you can use the search feature to find available classes. You can filter by:
- Course subject (e.g., Math, History, Computer Science)
- Course time (morning, afternoon, evening)
- Instructor (if you have a preference)
- Course format (in-person or online)
Take note of the course codes and class availability before proceeding. Be sure to check for any course prerequisites or special requirements.
3. Add Classes to Your Cart
Once you’ve found the courses you want to take, you can add them to your cart. This allows you to review your selections before proceeding with final enrollment. Ensure there are no time conflicts between the courses you want to take.
4. Register for Classes
After confirming your course choices, click on the “Register” button to enroll in your classes. You may be prompted to pay for tuition or other fees during this step. Payment deadlines are crucial, so make sure you know when payments are due.
5. Confirm Your Enrollment
After registering, you’ll receive a confirmation message, and your class schedule will be updated in the MyWCC portal. You can print your schedule or save it to your device for reference.
What to Do After Registering for Classes
Once you’ve successfully enrolled in your courses, there are a few important follow-up tasks to ensure you’re fully prepared for the semester.
1. Review Your Class Schedule
Check your class schedule carefully to make sure all the classes you registered for are correct. Look for any changes in class times or locations. If you notice any discrepancies, contact the registration office immediately.
2. Purchase Textbooks and Materials
Each course may have specific textbooks or materials required. Be sure to purchase your textbooks early so that you’re ready for the first day of class. The Whatcom College bookstore or third-party vendors can provide information on required textbooks.
3. Attend Student Orientation (If Applicable)
If you’re a new student, attend the orientation session to familiarize yourself with the campus, meet instructors, and learn about academic resources available to you. This is also a great time to ask any questions about your courses or college life.
4. Tuition Payment
Make sure to pay for your classes by the required deadline. Payment can be done through the MyWCC portal or in person at the college’s finance office. If you’re eligible for financial aid, be sure to finalize all paperwork to cover your tuition.
Common Issues and Troubleshooting During Registration
While the registration process at Whatcom College is straightforward, there may be occasional challenges. Here are some common issues and solutions:
1. Full Classes
If a course is full, you can check if there’s a waitlist option. If no waitlist is available, consider alternative courses or consult with an academic advisor to find suitable options.
2. Payment Issues
Sometimes, students experience problems with tuition payments, whether it’s a failed transaction or difficulty navigating the payment portal. If you encounter such issues, contact the college’s finance office for assistance.
3. Login Problems
If you can’t log into the MyWCC portal, reset your password or contact the IT support team for help. Having access to the portal is essential to complete registration and check your course schedule.
Tips for a Successful Registration Experience
To ensure that your registration goes smoothly, keep the following tips in mind:
- Register Early: The earlier you register, the better your chances of getting into your preferred classes.
- Double-Check Prerequisites: Make sure you meet the course prerequisites before registering.
- Stay Updated: Watch for any changes in course availability or scheduling through the MyWCC portal.
- Reach Out for Help: If you’re unsure about anything, contact the registrar’s office or an academic advisor for guidance.
Conclusion
Registering for classes at Whatcom College doesn’t have to be stressful. By preparing in advance, following the steps carefully, and staying informed about deadlines, you can smoothly navigate the registration process and set yourself up for academic success. If you run into any issues, the college’s staff is always available to provide support. Good luck with your classes, and enjoy your time at Whatcom College!


