How To Homebrew Nintendo Switch V2 In 2026: Step-By-Step Guide With Safety Tips
5 min read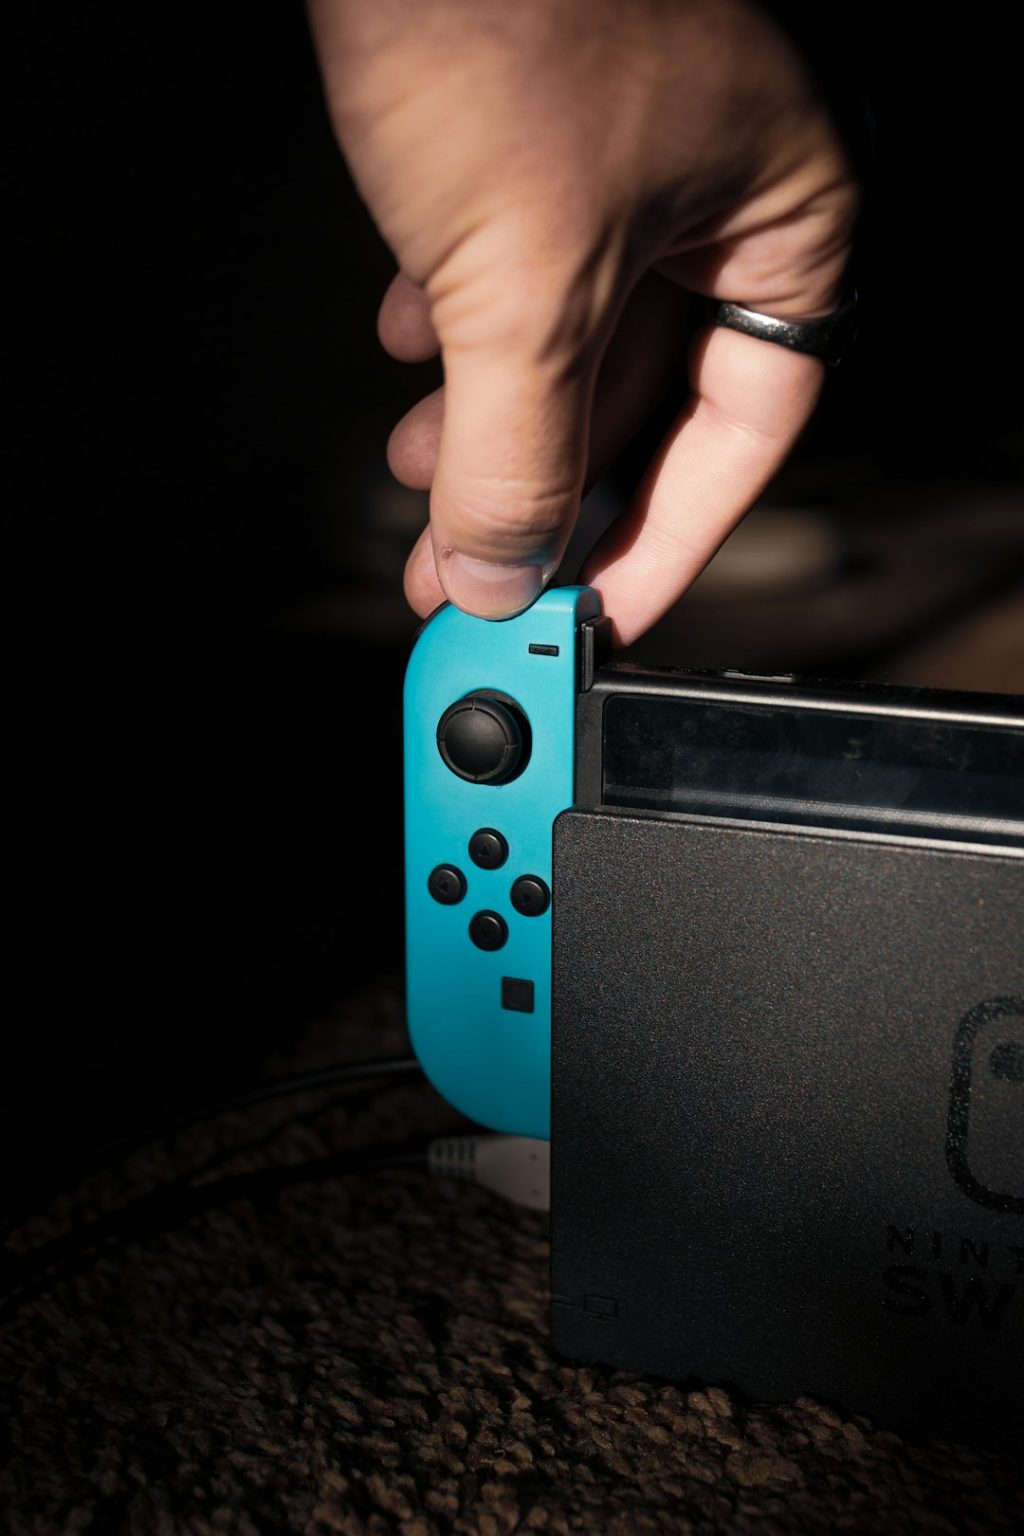
Homebrewing a Nintendo Switch V2 in 2026 remains a popular way for enthusiasts to unlock advanced features, run custom applications, and explore the console beyond its factory limitations. While the process is more complex than working with early Switch models, it is still achievable with the right tools, preparation, and safety precautions. This guide explains the process step by step and highlights critical safety tips to reduce risks.
TLDR: Homebrewing a Nintendo Switch V2 requires installing a modchip, preparing a compatible microSD card, and carefully setting up custom firmware. Because the V2 model is hardware patched, software-only methods will not work. The process involves technical steps and real risks, including console bans and hardware damage. Following proper safety procedures and verified resources greatly reduces potential problems.
Understanding Nintendo Switch V2 Homebrew
The Nintendo Switch V2 (also known as the “Mariko” model) includes hardware patches that block traditional software exploits used on original 2017 models. This means that unlike early Switch units, V2 consoles cannot be homebrewed using only software-based methods. A modchip installation is required.
Homebrew allows users to:
- Run custom applications (apps, emulators, utilities)
- Back up legally owned game cartridges
- Create themes and interface customizations
- Use save management tools
- Access development and advanced system tools
However, users must understand the risks:
- Voiding the warranty
- Permanent console bans from Nintendo online services
- Potential hardware damage during installation
- Risk of system corruption if configured improperly
Tools and Equipment Needed (2026)
Because Switch V2 requires a hardware modchip, preparation is essential.

- Compatible Modchip (Picofly or equivalent for Mariko units)
- MicroSD Card (128GB or larger recommended, high speed)
- Precision Screwdriver Set
- Soldering Iron (fine tip)
- Flux and Quality Solder
- Plastic Pry Tools
- Thermal Paste (optional but recommended)
- PC for Software Preparation
Modchip Comparison Chart (2026)
| Modchip | Difficulty Level | Reliability | Price Range | Best For |
|---|---|---|---|---|
| Picofly RP2040 Based | Advanced | High | $15–$35 | Experienced users |
| Prebuilt Modchip Kit | Intermediate | High | $70–$120 | DIY beginners |
| Professional Installation | Easy (for user) | Very High | $100–$180 service | Non-technical users |
Step-by-Step Guide to Homebrewing Switch V2
Step 1: Verify Your Switch Model
Before proceeding, confirm that the console is indeed a V2 (Mariko) unit. Check the serial number on the bottom of the console and cross-reference it with updated online databases. If uncertain, assume it is patched and requires a modchip.
Step 2: Backup NAND (After Modchip Installation)
Once the modchip is installed and custom bootloader access is available, backing up the NAND is critical. This backup allows restoration if something goes wrong.
Store NAND backups:
- On your PC
- On at least one external drive
- In encrypted cloud backup (optional)
Never skip NAND backup. It can save the entire console.
Step 3: Install the Modchip
This is the most complex step.
- Power off the console completely.
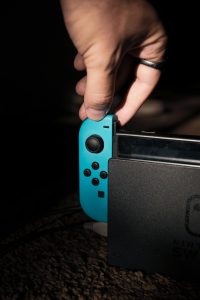
- Remove Joy-Cons and unscrew the backplate.
- Disconnect the battery before motherboard access.
- Carefully expose solder points using magnification.
- Solder modchip wires according to current diagrams.
- Secure the modchip using insulating tape.
- Reassemble partially and test before final closure.
Safety Tip: Use low heat (around 350°C max) and avoid prolonged contact with board pads. Overheating can lift traces permanently.
Step 4: Prepare the microSD Card
Insert the microSD card into a PC and format it to FAT32 (recommended for stability). Then download the latest custom firmware package compatible with 2026 system firmware.
Typical folder structure includes:
- /bootloader/
- /atmosphere/
- /switch/ (homebrew apps)
Safely eject the card and insert it into the Switch.
Step 5: Boot into Custom Firmware (CFW)
Power on the device. If the modchip installation was successful, a custom bootloader screen should appear. From there:
- Launch payload
- Create emuNAND (recommended)
- Boot into custom firmware
Use emuNAND: This creates a virtual system separate from the main system memory, reducing online ban risks.
Step 6: Install Homebrew Applications
Place homebrew .nro files inside the /switch/ folder on your microSD card. Access the Homebrew Menu through the Album app (or title override method).
Common starter homebrew tools:
- File managers
- Save backup utilities
- Retro emulators
- System monitoring apps
Essential Safety Tips (2026 Edition)
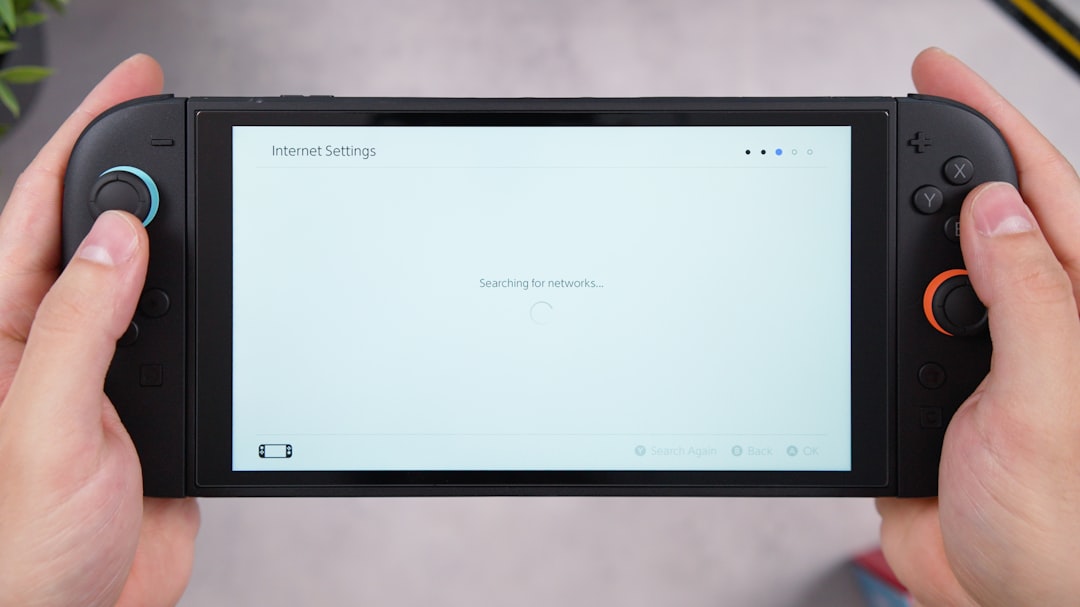
1. Avoid Nintendo Online Services
Connecting a modified console to Nintendo servers can result in a permanent ban. Keep emuNAND offline and consider using DNS blocking methods for added safety.
2. Keep SysNAND Clean
Do not install unofficial content to the system NAND. Keep all modifications strictly within emuNAND.
3. Stay Updated Carefully
Never update official firmware before confirming compatibility with the current custom firmware version.
4. Protect Against Static Damage
Use an anti-static wrist strap when installing the modchip.
5. Use Quality microSD Cards
Low-quality cards can corrupt data and cause boot failures.
Common Mistakes to Avoid
- Skipping NAND backup
- Using incorrect wiring diagrams
- Updating firmware blindly
- Going online without protection
- Rushing soldering work
Patience is the most important factor in a successful homebrew setup.
Is Homebrewing Worth It in 2026?
For advanced users, homebrewing the Switch V2 can unlock significant flexibility, including development projects and retro gaming emulation. However, it is not recommended for beginners with no electronics experience unless professional installation is used.
The process is no longer experimental, but it remains technical and carries responsibility. Users should only modify hardware they own and fully understand the associated legal implications in their region.
Frequently Asked Questions (FAQ)
Can Nintendo detect a homebrewed Switch V2?
Yes. Nintendo can detect system modifications, especially if the console connects to official online services. Using emuNAND and staying offline greatly reduces but does not eliminate risk.
Is homebrewing illegal?
Homebrewing itself is generally legal in many regions for personal use. However, downloading or distributing copyrighted games without ownership is illegal.
Can I homebrew without soldering?
No. Switch V2 (Mariko) units require a hardware modchip installation, which involves soldering.
Will I lose access to physical game cartridges?
No. Physical cartridges continue to function normally unless the console is banned from online services.
Can I undo homebrew?
If you created a NAND backup before modifying the system, restoration is possible. However, prior bans cannot be reversed.
How long does the process take?
For experienced users, 2–4 hours including modchip installation. Beginners may take significantly longer.
What is the safest method overall?
Professional modchip installation combined with strict offline emuNAND usage is the safest practical method in 2026.
With proper preparation, patience, and attention to safety guidelines, homebrewing a Nintendo Switch V2 in 2026 can be a rewarding technical project. However, users should proceed carefully, stay informed about firmware compatibility, and prioritize data backups above all else.