How to Get the Pink Color Lines in Photoshop
4 min read
If you’ve ever worked with Photoshop, you’ve likely seen those pink lines that pop up when you move objects around. These lines, known as Smart Guides, are incredibly useful for aligning objects and elements in your design. They help you snap objects into place by showing alignment to the edges, centers, and other objects within your canvas.
In this guide, we’ll show you how to enable, customize, and use these pink lines in Photoshop to make your design work faster and more precise.
What Are the Pink Lines (Smart Guides) in Photoshop?
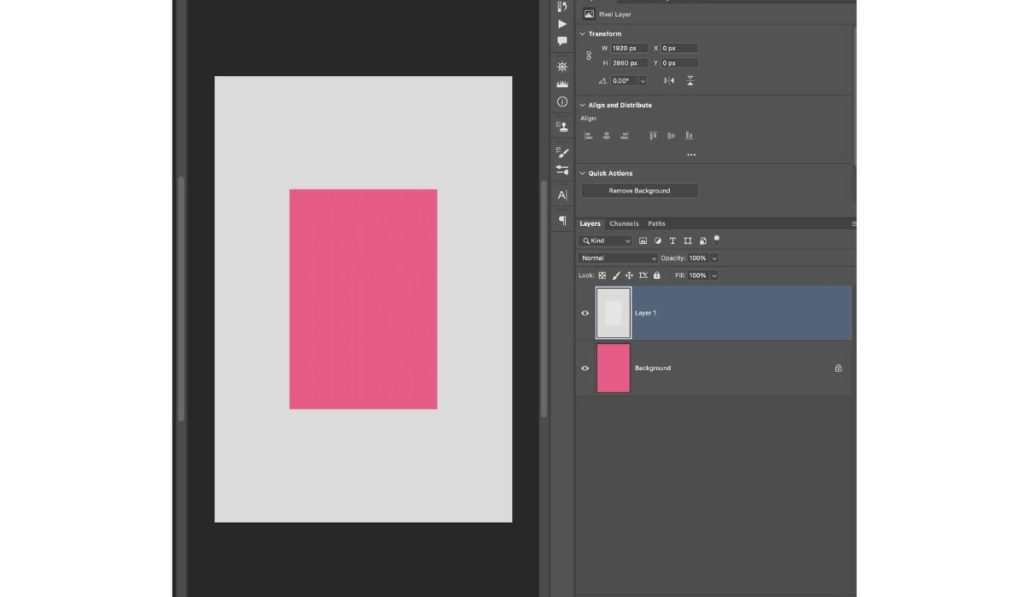
The pink lines in Photoshop are called Smart Guides. They are alignment tools that automatically appear when you move an object or layer. These guides help you align your work precisely without having to manually set up grids or rules.
Why they’re useful:
- They show you when objects are perfectly aligned to each other.
- They help objects snap into place, making your layout cleaner.
- Smart Guides make positioning quicker and more intuitive.
How to Enable Pink Lines (Smart Guides) in Photoshop
Follow these simple steps to enable Smart Guides (the pink lines) in Photoshop:
Step 1: Open Photoshop
Make sure you have your Photoshop application open and a project ready to work on.
Step 2: Go to View Menu
At the top of your screen, click on View from the menu bar.
Step 3: Enable Smart Guides
In the dropdown menu under Show, make sure to select Smart Guides. Alternatively, you can use the keyboard shortcut Ctrl + U (Windows) or Cmd + U (Mac) to toggle Smart Guides on or off.
Why It Helps: Turning on Smart Guides lets you see the pink lines when you move objects, helping you align them perfectly.
How to Customize Smart Guides in Photoshop
The pink lines are helpful, but sometimes you might want to change their color or how they behave. Here’s how you can customize Smart Guides in Photoshop:
Step 1: Go to Preferences
Click on Edit (Windows) or Photoshop (Mac) in the top menu, then select Preferences and choose Guides, Grid & Slices from the dropdown menu.
Step 2: Change the Smart Guide Color
In the Guides section, you’ll see an option to choose the color for Smart Guides. By default, it’s set to pink, but you can change it to any color that works better for your design.
Step 3: Adjust Grid and Snap Settings
You can also customize how snapping works. You can turn on Snap from the View menu and select Snap To to decide what objects your Smart Guides will snap to (edges, centers, or grids).
Why It Helps: Customizing Smart Guides allows you to make them more visible against your design background and gives you more control over how objects align.
Using Smart Guides to Align Objects
Now that you have Smart Guides enabled and customized, let’s use them to align objects on your canvas.
Step 1: Select and Move an Object
Click on any object or layer that you want to move. As you drag it around the canvas, you’ll notice the pink lines appear.
Step 2: Watch for the Pink Lines
As you move the object, the pink Smart Guides will show when it is aligned with other objects or the canvas itself (center, edges, or middle).
Step 3: Snapping into Place
When you move your object near an aligned spot (like the center of the canvas or another object), it will snap into place with the help of the pink lines.
Why It Helps: Smart Guides ensure your objects are aligned without you needing to guess or manually measure, saving you time and effort.
Common Issues and Troubleshooting
If your pink lines aren’t showing up or they aren’t behaving as expected, here are some common fixes:
Issue 1: Pink Lines Not Showing
- Solution: Go to View > Show and make sure Smart Guides is checked. Use Ctrl/Cmd + U to toggle it on or off if needed.
Issue 2: Objects Not Snapping
- Solution: Go to View > Snap and ensure it’s enabled. Also, check Snap To settings to make sure it’s snapping to the right elements (guides, layers, etc.).
Issue 3: Smart Guides Are Hard to See
- Solution: Change the color of Smart Guides in Preferences to a more visible color that contrasts with your design background.
Additional Tips for Working with Smart Guides
- Use Rulers and Guides Together: Activate Rulers by pressing Ctrl + R (Windows) or Cmd + R (Mac). You can drag manual guides from the rulers and use them with Smart Guides for more precise layouts.
- Keyboard Shortcut: Remember, you can quickly turn Smart Guides on and off using Ctrl + U (Windows) or Cmd + U (Mac).
- Grid and Guides: Combining Smart Guides with traditional grids can make complex designs easier to manage.
Conclusion
The pink lines (Smart Guides) in Photoshop are a great tool for aligning and positioning objects in your design projects. They save time and help ensure that everything is lined up perfectly. By enabling and customizing these guides, you’ll find that your workflow becomes much more efficient.
Did you find this guide helpful? Let us know in the comments! Share this article with others who might find Smart Guides useful, and don’t forget to subscribe for more Photoshop tips and tutorials.