Automatic Subtitles In DaVinci Resolve Free: Making Your Videos Accessible Without Losing Your Mind
4 min readCreating videos is fun… until you have to add subtitles. That’s when things can get boring, repetitive, and just plain annoying. If you’re using DaVinci Resolve Free, you may think automatic subtitles are only for the paid Studio version. But guess what? You can still make it work — and without losing your mind!
TL;DR:
Adding automatic subtitles in DaVinci Resolve Free is very possible — it just takes a couple of extra steps. You can transcribe your video using free tools outside of Resolve, then import the subtitles as a caption or subtitle track. It’s a bit of a manual process, but it saves tons of time. And hey, your viewers will thank you!
Why Subtitles Even Matter
Let’s be real — a lot of people watch videos on mute. Think late-night scrolls, noisy public transit, or just personal preference. Subtitles make your content accessible to more people, including those with hearing impairments.
Here’s why subtitles are a great idea:
- Better accessibility – Everyone deserves to enjoy your content.
- More engagement – Viewers stick around longer when they understand everything.
- SEO boost – Platforms like YouTube rank captioned content higher.
- Viewer flexibility – Watch it anywhere, anytime (even in a silent library).
Can You Add Automatic Subtitles In DaVinci Resolve Free?
Technically, no — not directly. The automatic speech-to-text feature is part of the Studio (paid) version of DaVinci Resolve. But there’s a clever workaround for us budget-conscious creators.
Here’s the plan:
- Use a free tool to transcribe the audio.
- Convert the transcription into a subtitle format (like SRT).
- Import the SRT file into your project in Resolve.
Let’s break that down. Don’t worry, it’s easier than it sounds.
Step 1: Transcribe Your Audio (For Free!)
There are several free tools and services that convert your video or audio into text:
- Otter.ai – Free with limited minutes per month. Great accuracy.
- Whisper – An open-source tool by OpenAI.
- VEED.io – Online and beginner-friendly.
- Subtitle Tools – Converts transcripts to subtitle formats.
Whisper especially stands out for its accuracy and privacy since it runs on your own machine.
Step 2: Create an SRT File
Once you have your transcript, the next step is turning it into an SRT (SubRip Subtitle) file. This may sound techy, but most of the tools above will do it for you automatically.
An SRT file is just a text file with timecodes and lines of dialogue. It looks something like this:
1
00:00:00,000 --> 00:00:02,000
Hello, and welcome to my video.

2
00:00:02,100 --> 00:00:04,500
Today we’re talking about salad dressing.
You can even create one manually using a simple text editor, but why make life hard?
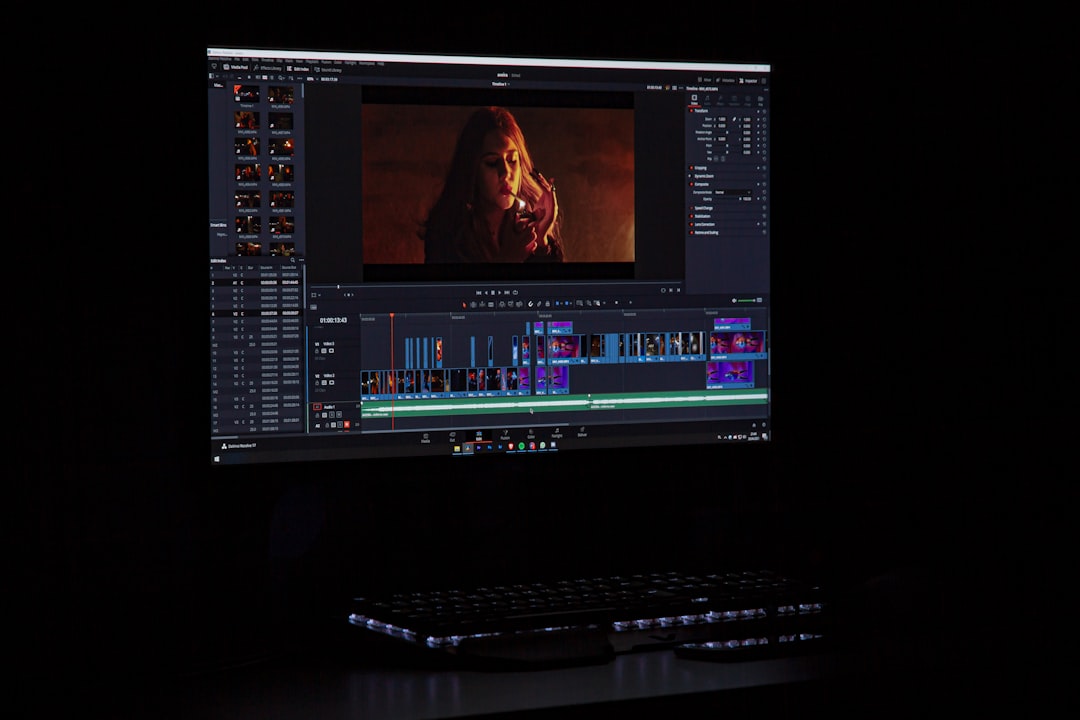
Step 3: Importing Subtitles into Resolve
Now for the fun part — let’s get those subtitles into DaVinci!
- Open your project in DaVinci Resolve Free.
- Go to the Edit tab (not the Cut tab).
- Right-click in the media pool and select Import Subtitle.
- Select your SRT file.
- Resolve will add a subtitle track above your video track.
You can now customize fonts, positions, and colors just like with any other title.
Bonus Tips to Stay Sane
Here are some handy tricks for making the process smoother:
Sync Issues?
If the subtitles don’t line up properly, double-check the timecodes in your SRT file. Even small errors can throw the timing off.
Need Multiple Languages?
You can import multiple SRT files and switch between them on different subtitle tracks. Very cool if your audience expects more than one language!
Want Burned-In Subtitles?
You can “burn in” (hardcode) subtitles by going to the Deliver tab and enabling the “Export Subtitle” option, then choosing Burn into Video. This makes sure they’re always visible — even outside platforms like YouTube.
Alternatives: If You Don’t Want to Do Any of This
Let’s be honest: even this streamlined method requires a few steps. If you’re still feeling overwhelmed, try these alternatives:
- Upload to YouTube, let it auto-caption, then download the SRT.
- Use a free subtitle app that exports directly to SRT files.
- Try CapCut Desktop – It’s free and has built-in auto-captioning. Export your final video and bring it into Resolve only for color grading.
These aren’t perfect workflows either, but they take some of the pressure off during editing.
Final Thoughts
Subtitles can feel like a chore, especially if you’re doing everything alone. But by using a few free tools and planning ahead, you can hack together a totally professional workflow using DaVinci Resolve Free.
Remember: it’s not about fancy tools, it’s about creating great content that connects with your audience — wherever (and however) they watch.
So go ahead—make your videos awesome and accessible. Your viewers will love you for it!