Diy Custom T-shirts In Minutes: Quick And Simple Tutorial
2 min read
Want to create your own custom t-shirts at home? You’re in the right place! Making cool, one-of-a-kind tees is easier than ever. And the best part? You can do it in just minutes. No fancy tools or expert skills needed!
Whether you’re making a shirt for a party, a gift, or just for fun, this quick and simple tutorial has got you covered.
Here’s What You’ll Need:
- A plain t-shirt (light colors work best)
- Iron-on transfer paper
- An inkjet printer
- Iron or heat press
- Scissors
- Your design (you can create one or find a free template online!)
Step 1: Pick or Create Your Design
This is where the fun begins! Use free platforms like Canva, Adobe Express, or even Word to design something cool. Think quotes, shapes, cartoons, or even selfies. Keep it bold and simple for the best result.
Pro tip: Make sure to mirror your image if you’re using iron-on transfer paper. Most design software has a “flip horizontally” option—super easy!
Step 2: Print It Out
Time to bring your design to life. Set your inkjet printer to its highest quality setting. Then print your image on the blank side of the transfer paper. Let the ink dry for a few minutes before cutting.
Step 3: Cut and Trim
Using scissors, carefully cut around your design. Leave a tiny border (or no border!) depending on the look you want. Clean cuts give a more professional finish.
Step 4: Iron It On!
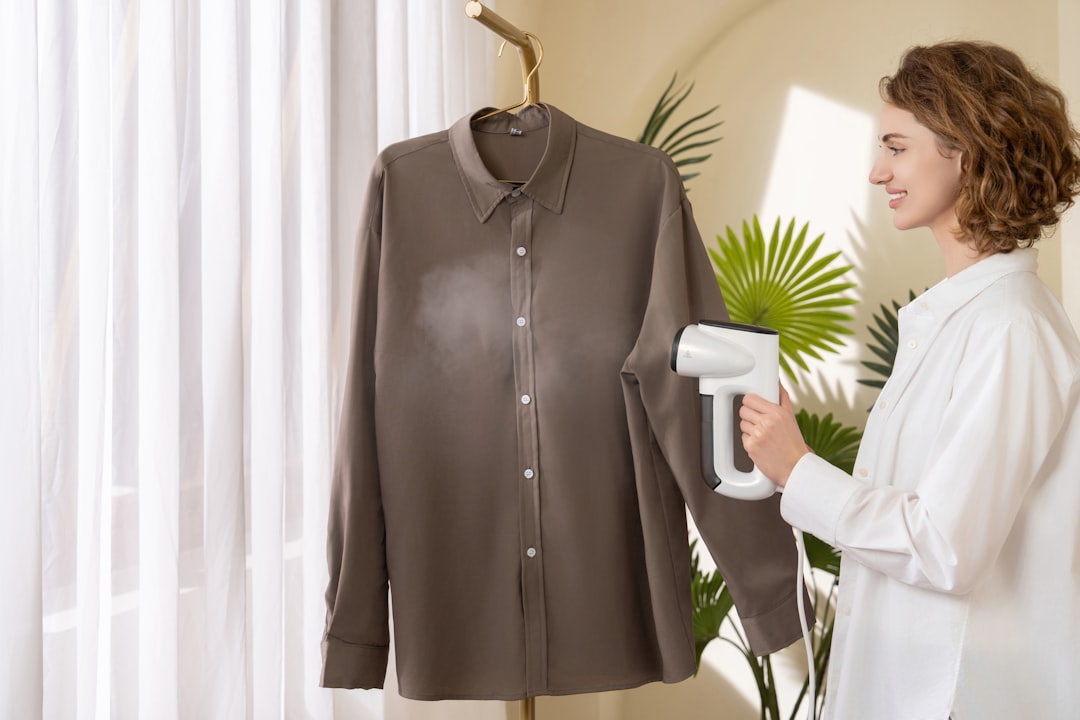
Now the magic happens. Preheat your iron on the cotton setting (no steam!). Place the shirt on a flat surface and smooth it out. Put your transfer face down exactly where you want the design to go.
Press down firmly with the iron for about 2–3 minutes. Don’t forget the corners. Let it cool for a second, then slowly peel off the backing paper. Voilà!
Step 5: Show It Off
Your tee is ready! Rock it at a party, post it on social media, or just wear it around the house to brag a little. You made that shirt!
Extra Tips for T-Shirt Pros:
- Wash your shirt inside out to make the design last longer.
- Wait 24 hours before putting it in the wash.
- Use bold colors and big text for maximum impact.
- Buy a set of plain shirts and make a whole collection!
Looking for More?
You can also use fabric paint, tie-dye, or stencils to decorate your shirt. Even hand-drawn designs with fabric markers work! Imagine the combos—you’re the designer now!
Make it solo or turn it into a group activity. It’s budget-friendly and always a blast. You don’t need to be a professional artist. Just bring your creativity and a little bit of fun!
So next time you want something unique to wear, skip the mall. Just grab a shirt and start creating. It really is that easy.
Happy shirt-making!


